
Do you have a parsons chair?


I had one in a blue and brown color scheme and I was
over it!

I have methodically tried to recover everything so my upholstered pieces are predominately neutral.
over it!

I have methodically tried to recover everything so my upholstered pieces are predominately neutral.
I made a slipcover for this chair in an unbleached muslin and it was by far the easiest slipcover I have ever made.
Lay the fabric right side down on the seat and up the front side of the back of the chair. Loop it up and over the top and down the back all the way to the bottom of the seat.
Custom cut this piece a little wider and longer than the seat, sides and the back of the chair.
With the right sides together pin down the sides with straight pins.

It is easier to pull the pins out this way as you are sewing.

Sew the seam from the top down on each side.
Turn it right side out and try it on the chair.
If it fits, turn it right side in and put it back on the chair.
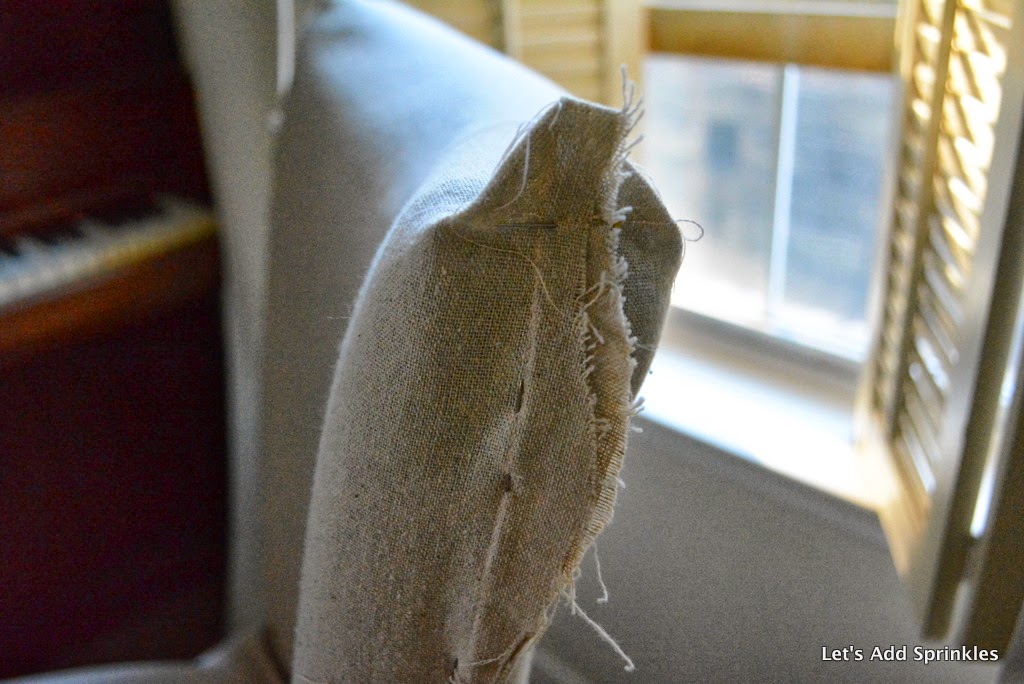
At this point pin the "box" seam at the top of the back to give it a tailored, crisp and custom fit. You will be pinning perpendicular to the side seam. Sew on each side. Your perpendicular seam should be the depth of the back of the chair-2 inches or so.
Put it back on the chair right side out and check to see if it fits.
If it doesn't fit turn it right side in and make adjustments.

Pin and sew the corners.

Turn it inside out and fit the slipcover on the chair. Trim around the bottom of the seat so it is even on all four sides. At this point you could hem the bottom or make a ruffle.
I made a decorative ruffle.
You can read about making an easy ruffle here.

I love this chair.
I keep moving it back and forth between the living room and kitchen now that it is neutral.
I had all the supplies for this project so it made me feel a little better about covering up an almost new chair.


I like it.

Katie
Linking with,
Between Naps on the Porch
The Scoop
Savvy Southern Style
I like it too! Looks classic and pretty.
ReplyDeleteGreat tutorial! I love the way it turned out. Come link up to centerpiece Wednesday and share this post with us.
ReplyDeleteWww.thestylesisters.blogspot.com
Karin
It's beautiful!
ReplyDelete