

Last week during Dixie's recovery, I didn't do a lot except nap and watch YouTube. If I was still and quiet, then she was still and quiet.
I discovered that a lot of the YouTubers were already crafting fall decor.
I guess they are good influencers because they inspired me to create a few things for the upcoming season.
Y'all, I had so much fun.
I watched an easy tutorial for buffalo check.
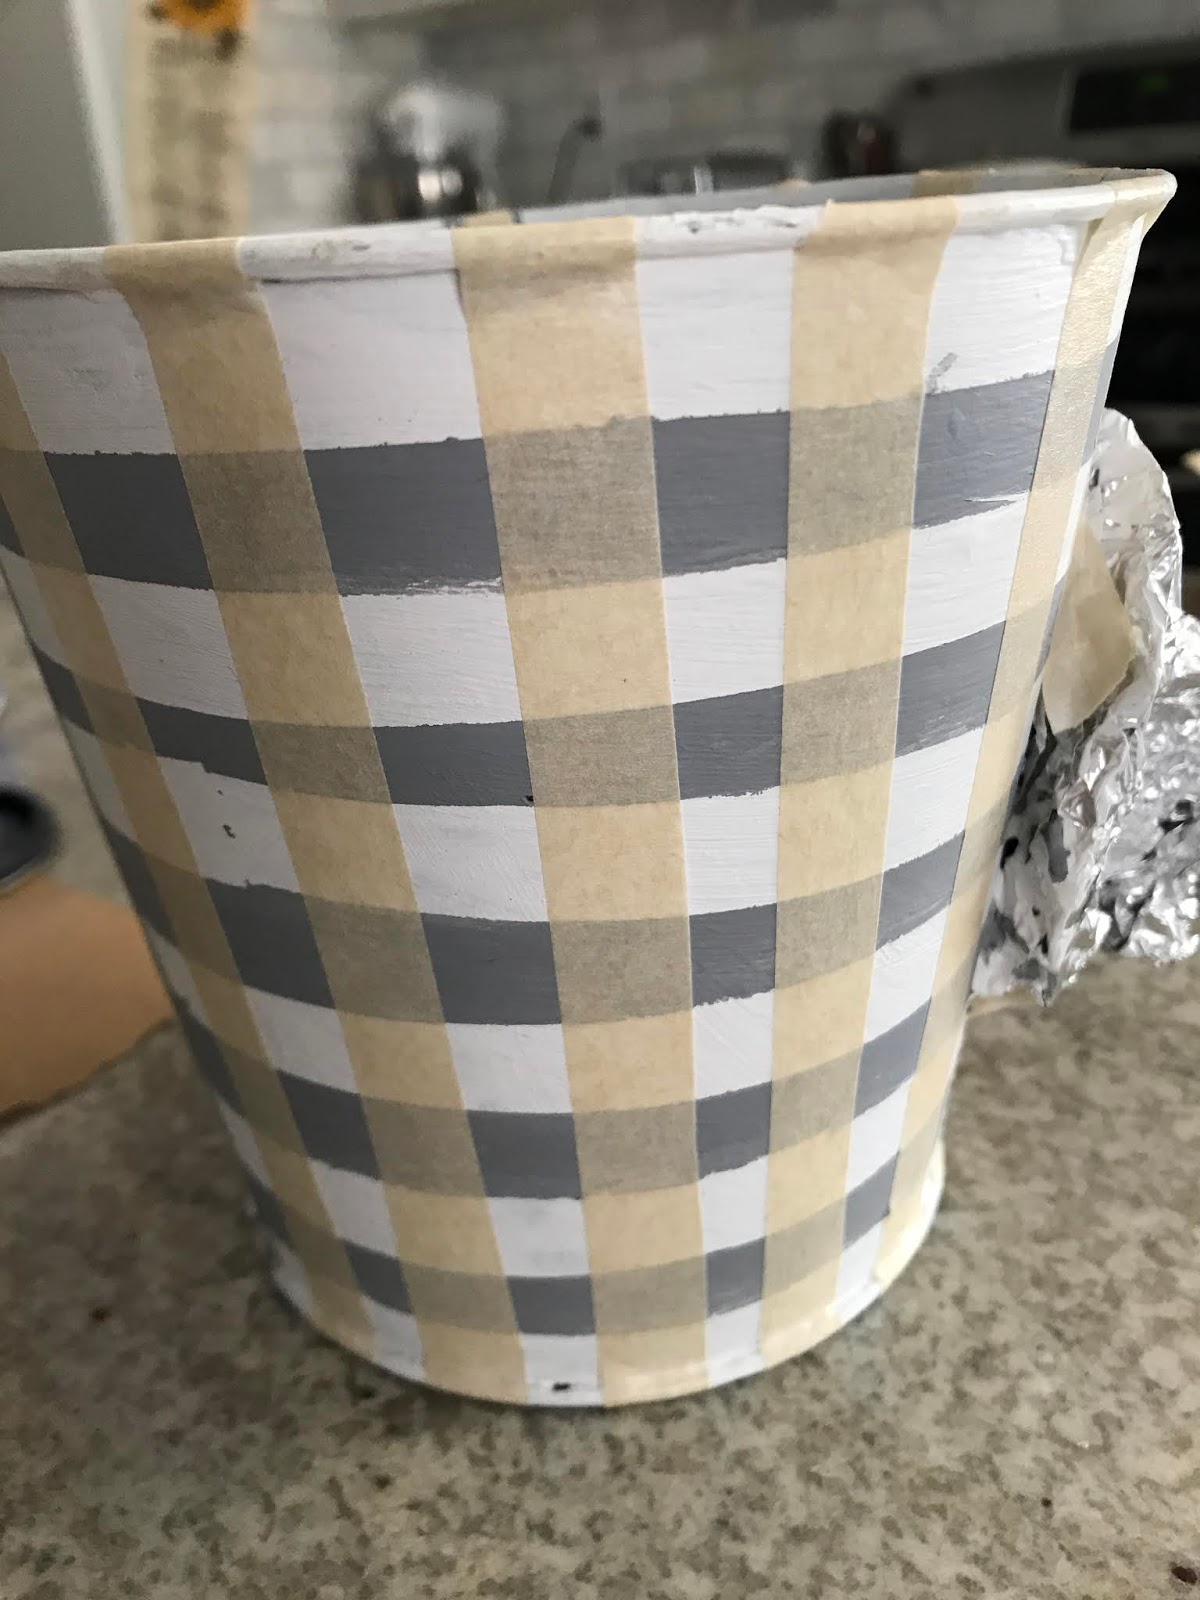
I went nuts painting buffalo check on some pumpkins and this planter.
They are all from Dollar Tree.

I covered the sunflower with foil and then gave the pot a light sanding.
Then I painted it white.
It took a couple of coats to cover it well.

Once the paint was completely dry, I put masking tape stripes around the flower pot horizontally.
If the paint isn't completely dry, it will pull off with the tape.
I didn't have thin masking tape, so I had to cut the tape in half in order to get smaller checks.

I made up some gray paint. The secret to gray is a lot of white and just a dab of black. Paint in between the tape. Let dry.

Pull off the tape and set it aside to reuse later.

Put new tape on the piece in a vertical direction.
Paint in between the tape and let dry.

Take the horizontal strips of tape and put them back on exactly where they were before.

Paint the pot black.

Now for the fun part, pull off all the tape and see your checks.

I had some serious bleeding under the tape.
Make sure your edges are firmly taped down.

I sat at the table with all three colors and touched up the squares.

I lifted the petals back a little to paint the checks under the flower.

This was probably a little too advanced for my second attempt at painting checks.
A little pumpkin was my first project. I should have painted a few more pumpkins before painting a flower pot.


Before:

After:

There are two important factors.
You really have to let it dry completely before moving on to the next step.

Getting the tape on well is also important. To get crisp edges, the tape has to be well adhered.

These are so darling. Choosing ribbon for the pumpkins was fun.
I also made a faux pumpkin pie like the one made by Auntie Coo Coo.
It was fairly easy but there is a lot of drying time.
I glued a foam board circle onto a hard to find Dollar Tree pie pan.
I used black foam board. Don't do that. Get white.
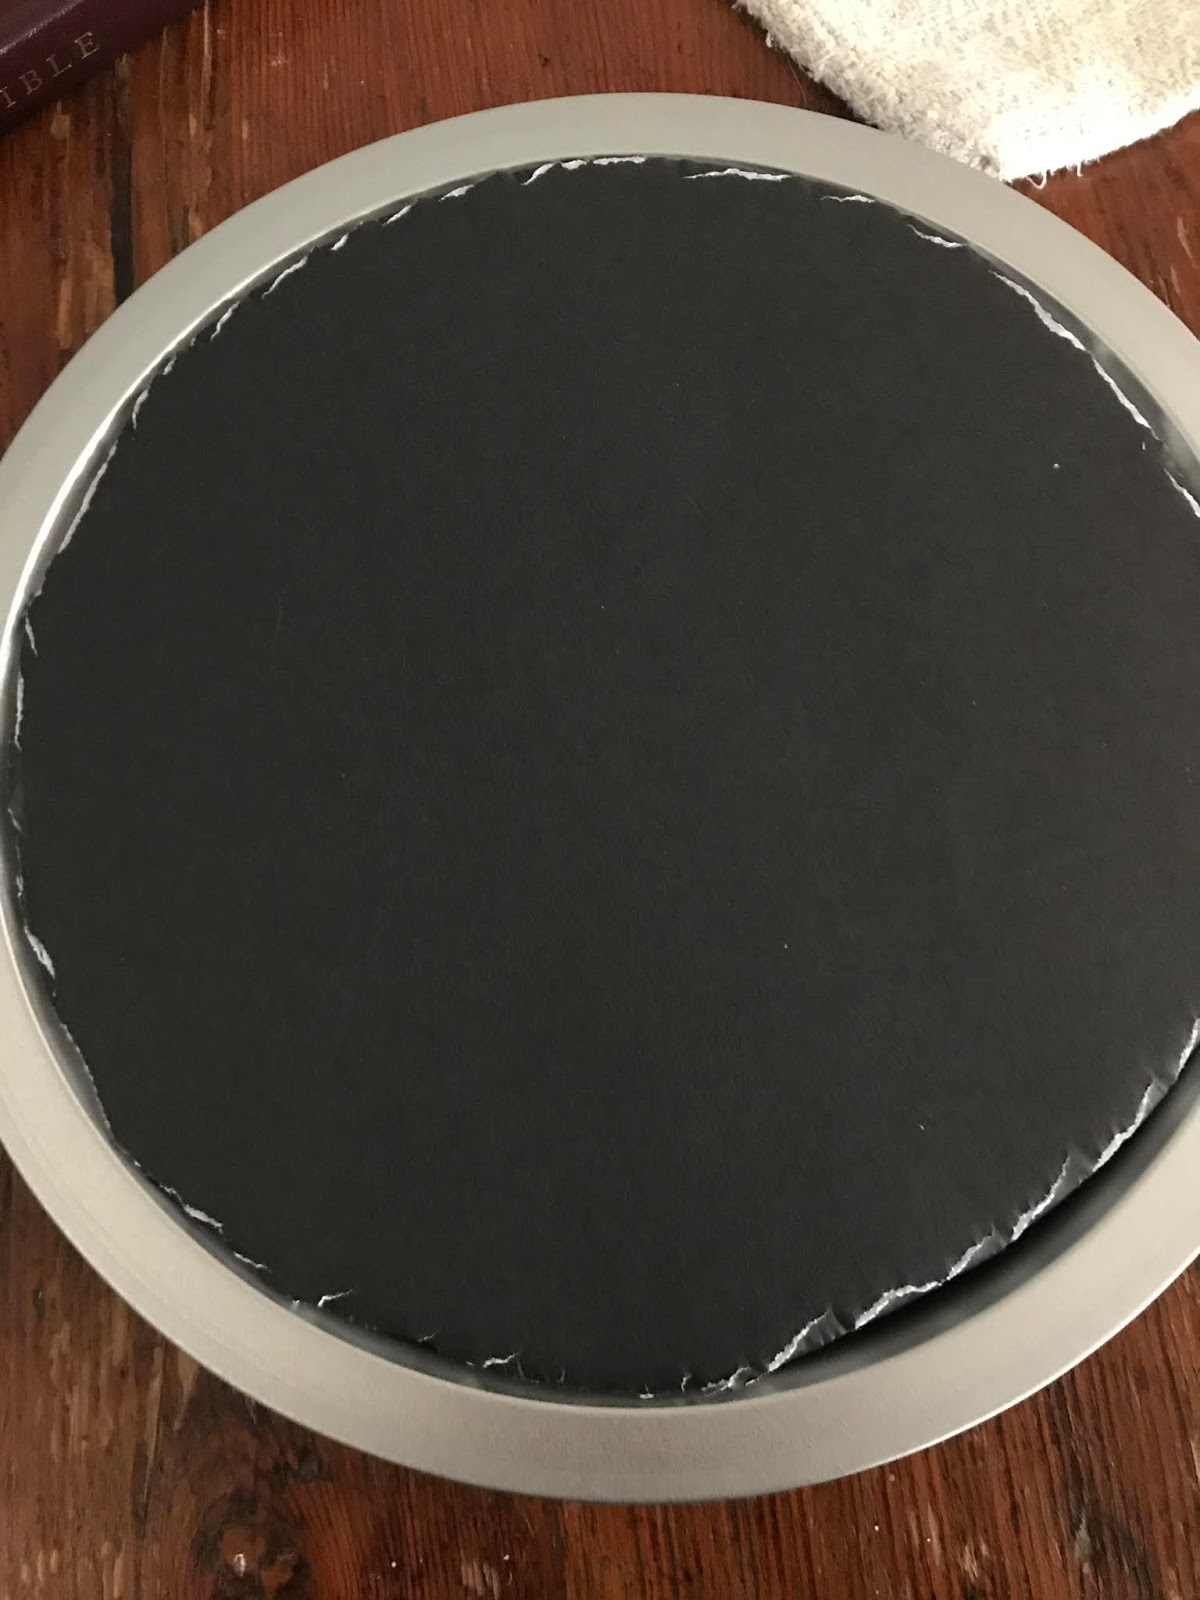
I covered it with joint compound but I'm not sure this step was necessary.

Bill saw the pie last night before it was painted orange. He was a giving me grief about having faux pie but no real pie.
It does look a little like chocolate pie with whipped cream.
The man loves some pie.
Chocolate pie is one of his favorites!

My orange need a dab of brown to get it the classic pumpkin pie color. Paint the pie and let dry.

Auntie Coo Coo used Dollar Tree spackle in a pastry bag to pipe the "whipped cream".
It didn't work.
First the spackle was too thick then I thinned it too much with water.
It looked like melted Cool Whip. Not exactly the look I was going for.
The Dollar Tree pastry bag was not good which could have been part of the problem.
Caulk and my regular pastry tips finally worked. I doubt I can use the tips for frosting but crafting has it's sacrifices. :)

My Dollar Trees are starting to get some fall decor in stock.
There is supposed to be a darling cut out of a pumpkin filled pick up truck. I'd love to find that.
The YouTubers were raving about it.
Dollar Tree can be hit or miss. The key to finding the good stuff is to shop early in the season.
I'm thinking about doing a post curating good Dollar Tree finds. Look for that soon.
That's it for now.