
Another title for this post could be, "Repainting Professionally Painted Cabinets."
I wasn't sure how I was going to do this.
I wasn't sure how I was going to do this.

I am a stew-er.
I mull things over.
I worry.
Bill was out of town for a week.
I entertained scenarios in my head about different fates that could lead to his demise.
Plane crashes, train derailments, and blood sugar issues top the list.
My son was meeting him there which could mean further train derailments!
It isn't rational since Chris rides the subway on a daily basis...
It isn't rational since Chris rides the subway on a daily basis...

I know.
I'm a sick puppy.
Bill and a friend had to take "Good Housekeeping" Magazine away from me because we had a new disease each time a new issue came out.

My answer to keep worry at bay, besides trusting in the Lord, is busy work.
If I keep busy, busy, busy, then I don't think about all the catastrophic events that could befall my loved ones.
My kitchen cabinets.

Can I be honest with you?
I diligently touched up the paint for about a year after we had them professionally painted.
After that, not so much.
Then, I painted the walls white.

Not a stark white.
I knew that wouldn't work, but a slightly off white that looked fabulous everywhere else in the house.
I knew that wouldn't work, but a slightly off white that looked fabulous everywhere else in the house.
It was terrible.
The whole room looked sickly yellow like when my babies had jaundice.
All three of my babies had jaundice. I was a basket case.
Three months later, I repainted the walls but once that sickly yellow was seen, it could not be unseen.
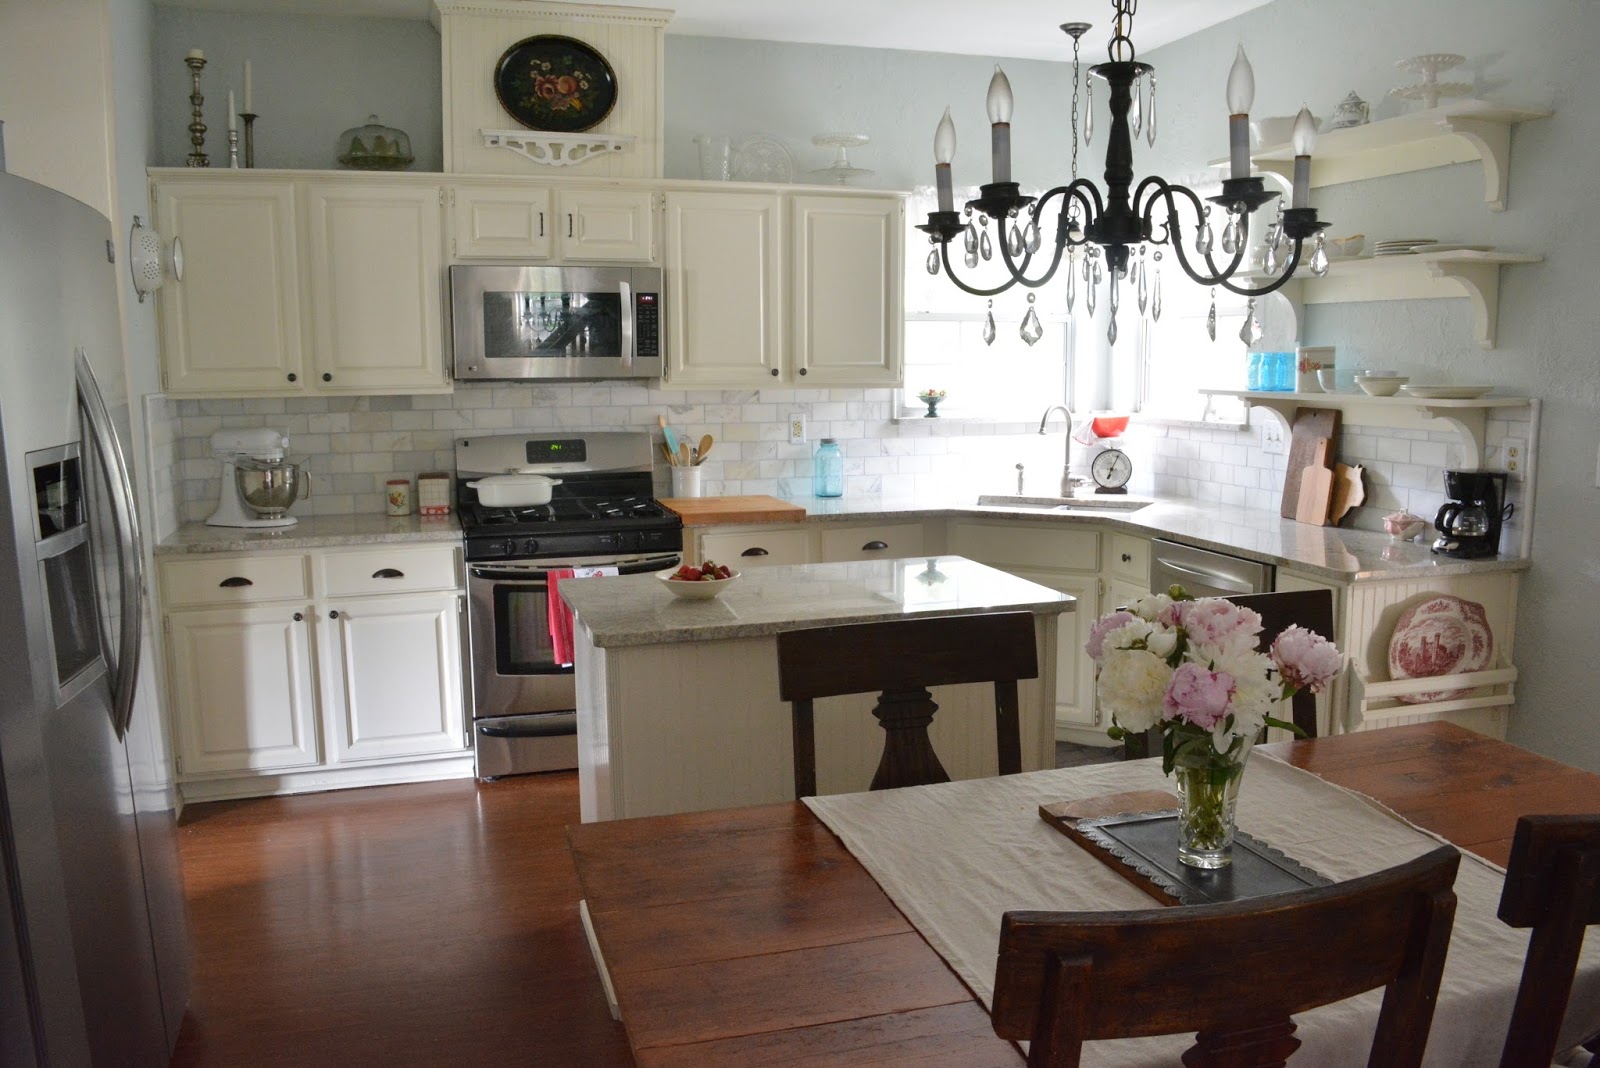
So a yellowish cast, combined with four years of dings, scratches, and chips and I'd had enough.
I went to Sherwin Williams with my old paint can, some ideas in my head, and a Pinterest app on my phone.
I pulled chip after chip of white paint off of the shelf, compared it with the drips on my old paint can and checked my app for gorgeous photos of white cabinets.
Snowbound in satin finish topped the list.
Snowbound Pro Classic Enamel by Sherwin Williams.
Snowbound Pro Classic Enamel by Sherwin Williams.
The sales associate walked me through the necessary prep.
He suggested sanding (gag) and cleaning with a degreaser.
Not all the cabinets were greasy. Just the bank by the stove so those are the only ones that got the recommended treatment.
The rest just got a light cleaning with a wet rag.
This paint went on beautifully.
It dried very quickly for oil based which pleased the socks off of me.
I did some test spots with a brush.

I did the rest with a roller and a brush.
The fastest application involved rolling the paint onto the flat parts of the cabinet doors and then brushing the paint into all the crevices.
There was one repair to do.

I may have said before that I didn't care for our granite guy.
Our new stove was not centered with our old counters.
I asked him to account for the centering of the stove when he measured the template for the granite.
He didn't do it.
I wasn't pleased.
I centered the stove but I had to make a spacer to close the gap between the stove and the cabinet.
Years of use, the breakdown of the glue, and attaching the spacer did a number to the facing of the cabinet.
After applying Liquid Nails, I used blocks to lift the sagging facing.

Since I couldn't clamp this, I countersunk three screws to keep it in place.

I drilled a pilot hole.

I used a countersink bit so that the screw would not have to sit flush with the facing.


The cabinet is now secure.

I painted with the doors on because that is what the painter did four years ago.
I wasn't pleased about that because he painted the hinges but it was easier to repaint with them on.
I wasn't pleased about that because he painted the hinges but it was easier to repaint with them on.
I left them propped open to dry.
I also painted with oil based because that is what they used four years ago.
I wasn't about to go through the necessary steps to prepare these for latex paint.
I also painted with oil based because that is what they used four years ago.
I wasn't about to go through the necessary steps to prepare these for latex paint.

Oil based paint yellows faster than latex. Satin yellows less than Semi-gloss which is was the old sheen.
Stay out of the kitchen when they are drying because if you bump into one after you have had your shower you will be annoyed when oil based paint gets on your new comfy dress.
Don't ask me how I know this.

A project that was supposed to stretch out for a week was done in two days.
Here are a couple of photos showing the contrast between the old and the new color.

I'm please with the end result.
My big fear is that I would mess up what the painter did four years ago.
These cabinets look like they have been resprayed instead of rolled and brushed.
I'm thrilled.

I have to hit publish now so I can go play in my bright and fresh kitchen.


Katie


